 LNEYA Industrial Chillers Manufacturer Supplier


How to Install a Recirculating Chiller for a Reactor System

Recent Blogs
- How to Upgrade an Old Chiller to Improve Efficiency
- Chiller Tanks Comparison Expansion Tank vs Buffer Tank
- Expansion Tanks in Semiconductor Chillers
- How Explosion-Proof Chillers Work Principles and Design
Catalog
- August 2025
- July 2025
- June 2025
- May 2025
- March 2025
- February 2025
- January 2025
- December 2024
- November 2024
- October 2024
- September 2024
- August 2024
- July 2024
- June 2024
- May 2024
- April 2024
- March 2024
- February 2024
- September 2023
- July 2023
- June 2023
- May 2023
- January 2023
Tag
air cooled chiller chiller chillers Cold Assembly Freezer cooling chiller cooling heating circulator cooling heating system dynamic temperature control system freezer heating circulator industrial chiller industrial freezer industrial refrigerator jacket reactor low temperature chiller news pharmaceutical chiller process chiller reactor chiller reactor cooling reactor cooling heating reactor heating cooling refrigerated circulator screw chiller semiconductor chiller semiconductor test chiller sundi tcu temperature control test chamber thermostat ultra low temperature chiller vehicle test chiller water chiller water cooled chiller
Contact Us
Whether performing chemical reactions, biological fermentation, polymerization synthesis, or purification and crystallization, reactors require a reliable temperature control system. A chiller plays a key role in this process.
But, after buying the equipment, many users soon realize that installing a chiller and connecting it to a reactor isn’t as straightforward as expected—even with the manual in hand. This practical guide walks you through connecting a chiller to a reactor.
1. Check the Installation Environment
To prevent issues like poor cooling, electrical leakage, or equipment vibration later on, ensure the location doesn’t interfere with normal operation.
• Position the chiller on a hard, level surface that does not collect standing water.
• For air-cooled chillers, leave space on both sides of at least 50 cm to ensure ventilation without the backflow of hot air to prevent the condenser from cooling.
• Do not locate the chiller in direct sunlight, high humidity, or corrosive conditions.
• It is high-power industrial equipment, so it is advisable to utilize a different power circuit. Make sure the voltage, frequency, and power are the same as the nameplate specified on the chiller.

2. Establish the Reactor’s Piping and Connections
Both inlet and outlet diameter of the reactor must be the same as the piping to prevent leaks.
• Check if the reactor is jacketed or coil-type, since their ports and flow paths differ.
• Specify the inlet and outlet locations of the reactor to avoid improper piping connections.
• Employ hoses or stainless steel tubing compatible with the chiller and the inlet and outlet of the reactor, and insulate the tubes.
• Prepare fittings like quick-connects and adapters, along with sealing materials like PTFE tape and gaskets.
• If there is a distance or elevation difference between the chiller inlet/outlet and the reactor inlet/outlet, decide if a circulation pump or exhaust valve is needed to enable coolant delivery.

3. Connect the Chiller and Reactor
Confirm that all materials are correctly prepared and connect the pipes to the outlet to create a closed circulation path.
• Connect the chiller’s outlet to the reactor’s inlet. The reactor’s inlet is usually located on the bottom or side.
• Connect the reactor’s outlet to the chiller’s return line.
• Ensure pipe joints are tight and leak-free.
• Avoid sharp bends or upward-facing U-shaped pipes in the piping, as these can create airlocks and hinder coolant flow.
• If there’s an expansion tank, install it at the highest point and connect it properly.
4. Add Coolant
Add the coolant recommended by the chiller supplier.
• Open the chiller’s level port or tank cap and slowly add coolant.
• Observe the level in the level window. Start by filling the tank to 2/3 of the way up. Start the circulation pump and then top up again.
• Check the piping connections for leaks and to see if the liquid level has dropped.
5. Connect the Temperature Sensor
Some chillers also have a Pt100 sensor installed in the reaction mixture.
• Insert the temperature sensor into the liquid in the reactor.
• Make sure the sensor is firmly fixed at the measuring point.
• If the chiller supports RS485 or PID closed-loop control, set the feedback mode on the control panel after connecting the signal cables. Otherwise, use the chiller’s outlet temperature control mode.
6. Check the Power Connection and Grounding
Ensure stable power supply and safe electrical use for the chiller.
• The chiller power cable must be connected to a three-phase or single-phase power source (as specified on the nameplate). Ensure a good ground connection. Do not leave the chiller casing directly touching the ground due to poor grounding conditions.
• Do not share an outlet with high-power electric furnaces, blenders, or other equipment to prevent the chiller from tripping or malfunctioning due to current fluctuations or equipment startup and shutdown.
• It is best to equip the chiller with a leakage current protector.
• Use a multimeter to check the voltage for stability before starting.
7. Initial Startup and Pipeline Venting
Air bubbles in the pipes can cause the circulation pump to run idly or create an air blockage.
• Start the chiller’s circulation pump and observe whether the liquid level drops. If the liquid level drops significantly, refill the coolant immediately.
• Check all sections of the piping for clear flow and any bubbling or noise. Some models feature automatic air venting, but if not, manually vent air at the highest point of the system by slightly loosening a connection or using a bleed valve.
8. Set the Temperature and Conduct a Trial Run
Always do a trial run—some issues only show up once the system is running.
• Set the target temperature on the chiller control panel.
• Configure high/low temperature protection thresholds (e.g., ±5°C) to avoid overshoot caused by sensor lag or refrigerant delay.
• If the heating function is enabled, set the heating rate to prevent temperature differentials from impacting the reactor walls.
• Start circulating liquid to the reactor and note the heating/cooling rate and the feedback curve.
• Check the control panel to determine if the actual temperature is stable around the setpoint and if there are any alarms.
• Check if joints are dry and leak-free.
• Check that the circulation pump sounds normal.
• If there is anything abnormal, take the unit offline for examination immediately.
Conclusion
It may seem straightforward to connect a chiller to a reactor, but stable operation depends on careful consideration of every detail. Some users have faced unstable operation and large temperature swings. Our engineers, on-site, discovered during inspections that the majority of the troubles were caused by installation details: improper orientation of pipe connections, loose seals, and improper venting.
For further help with installation, kindly contact us for complimentary technical advice. LNEYA offers professional reactor chiller systems, supporting customized equipment and installation solutions, helping you easily solve your reactor temperature control challenges!
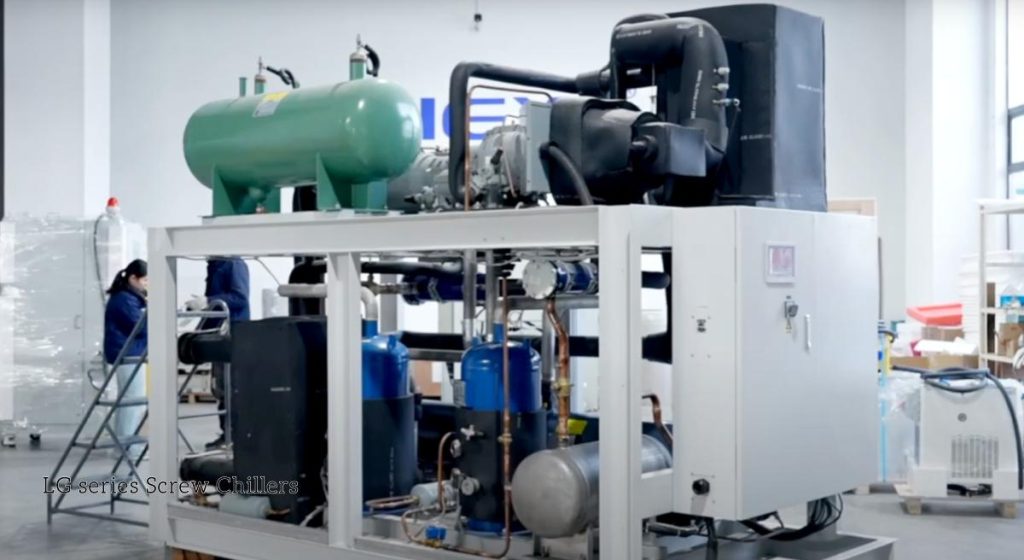
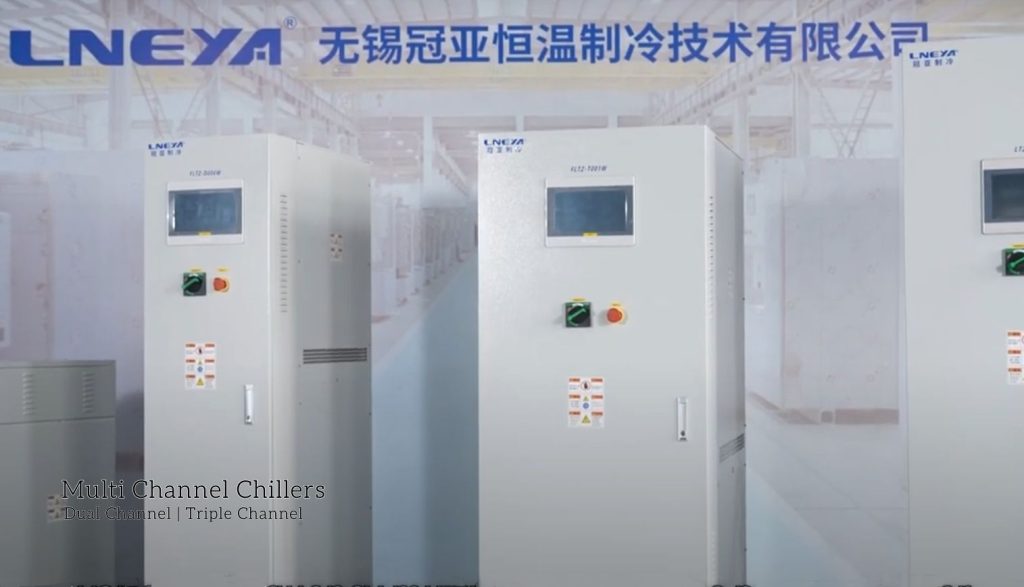
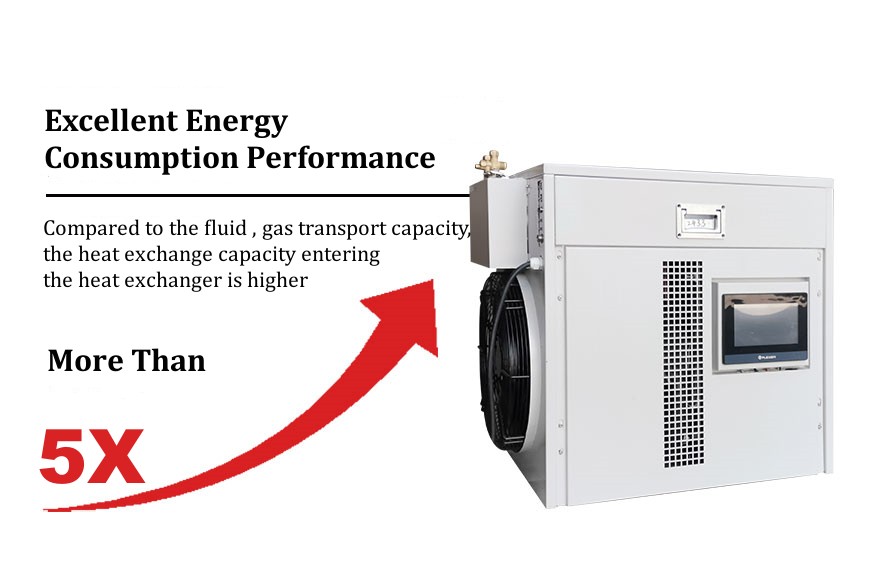
Related chillers


CONTACT US
TEL:
EMAIL:
WeChat & WhatsApp:

Wechat QR

Have a question or need a quote? Fill out the form below, and our team will get back to you within 24 hours.

